Nowadays, Google My Maps is one of the apps that you cannot do without when traveling overseas. It has become an essential part of the trip for Self-Drive, walking, or even taking the subways or buses. We can never leave home without it.
A customized Google my maps can be prepared well in advance for your trip and have it displayed on all your devices. You can also share it with others. You can have multiple destinations with directions and up to 10 layers for all your different purposes.
Here are the steps on how to prepare a simple google map for your future trip.
Step 1 – Open Google My Maps
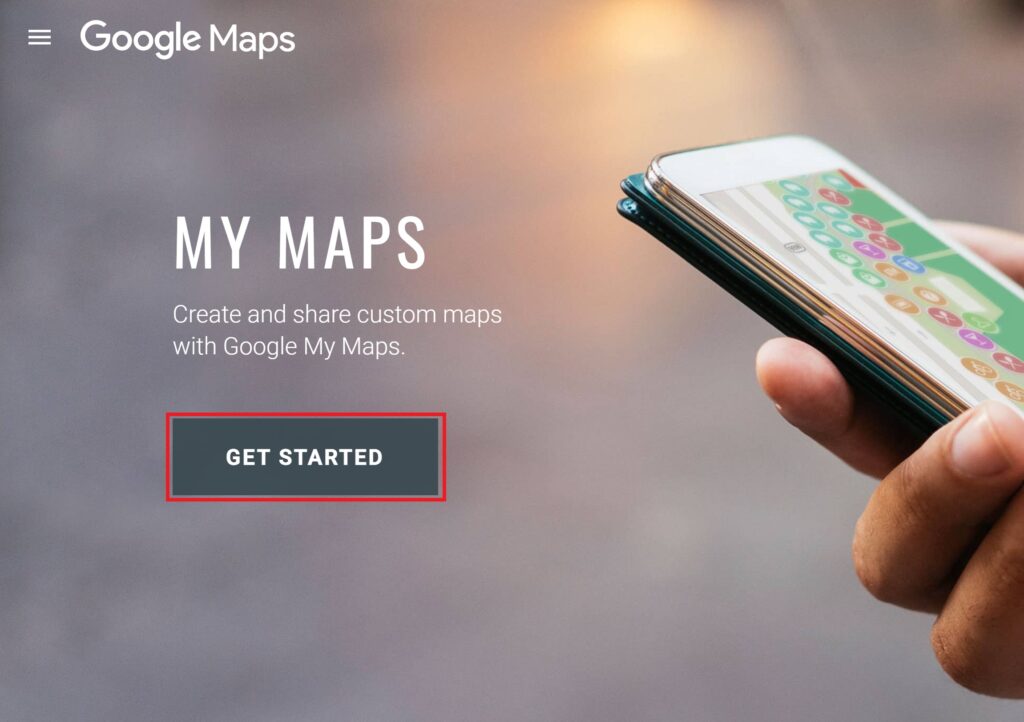
1. Open Google My Maps on your google chrome browser after you have signed in with your account. Click <Get Started>.
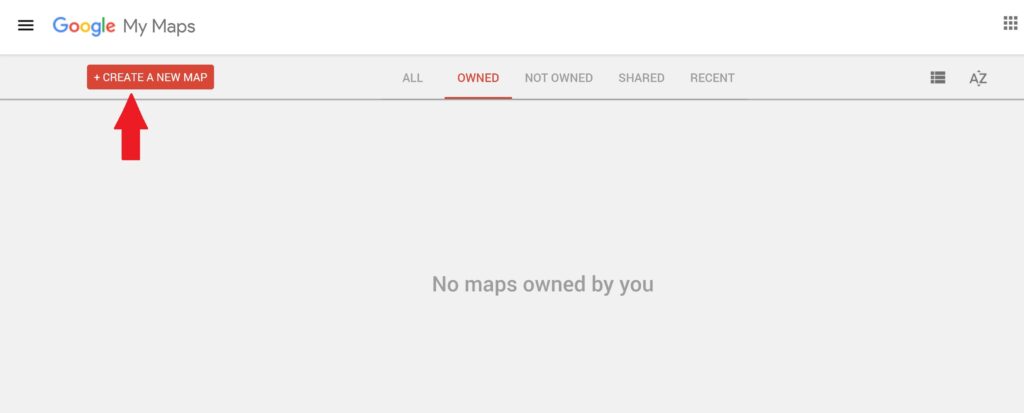
2. Start a new map by clicking <Create A New Map>.
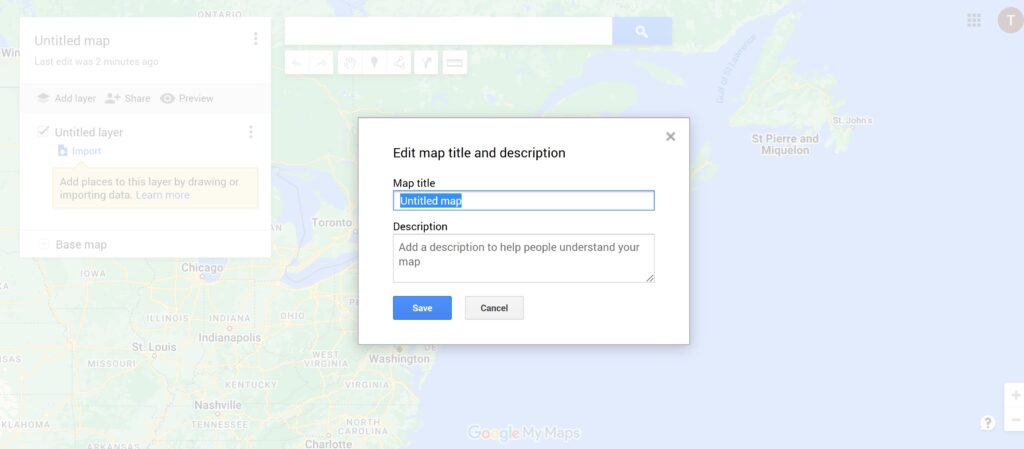
3. Click <Untitled map> in the top left corner and the <Edit map title and description> box will appear. Over here, you can name and add descriptions to the map.
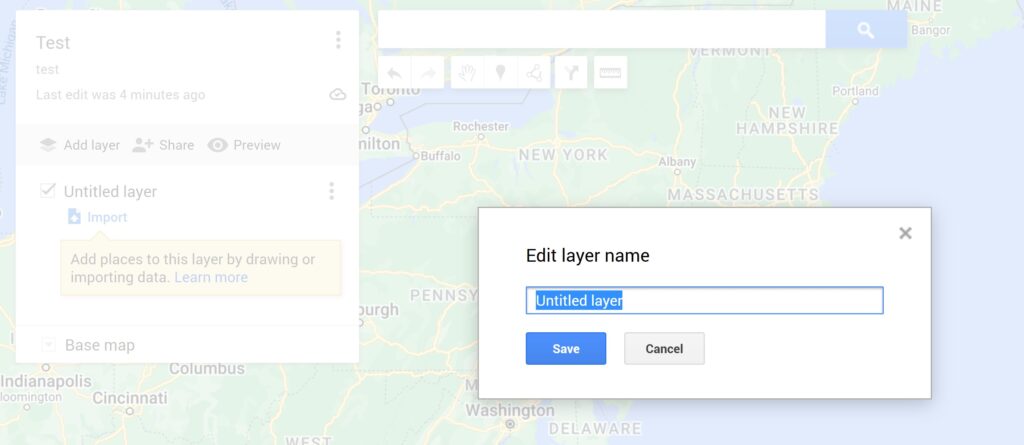
4. Click <Untitled Layer> in the top left corner and the <Edit layer name> box will appear. Over here, you can rename the layer.
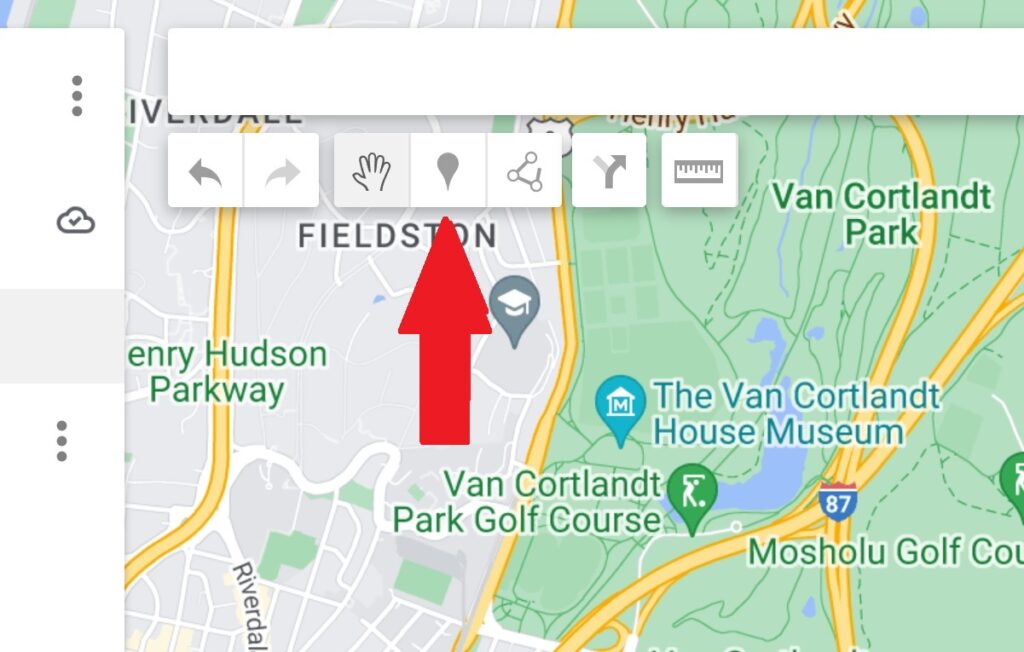
5. There are 3 ways to insert a point onto the map.
The first way to insert a point is to click the <pin> button. Place the + sign onto the desired location on the map.
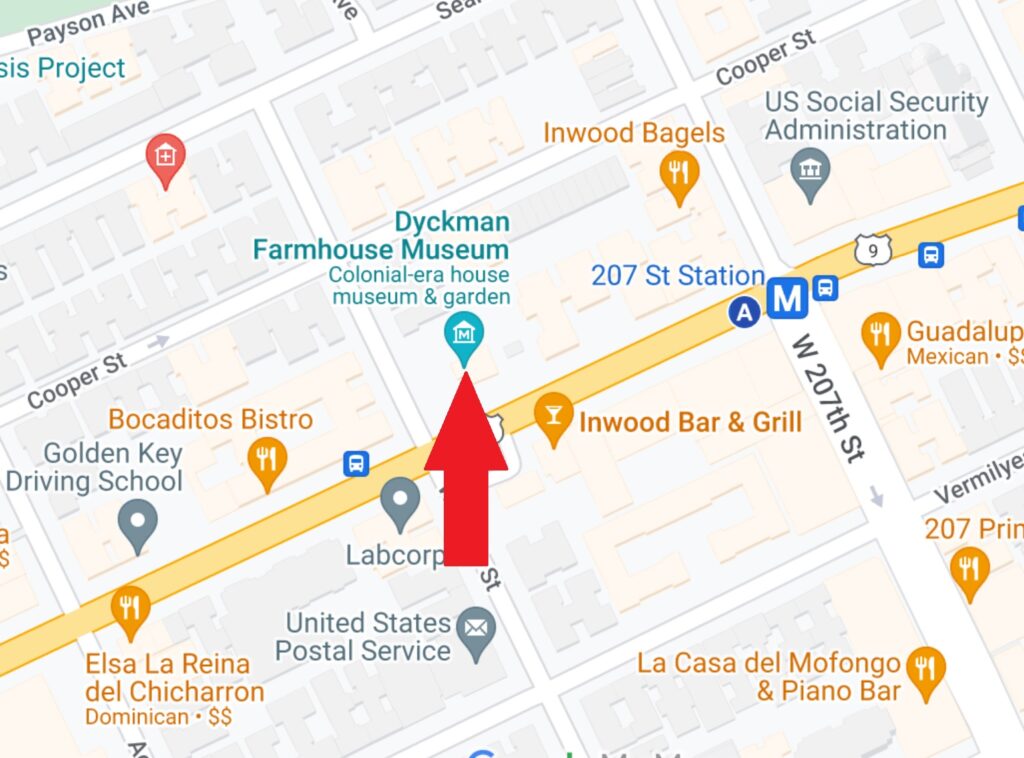
6. The second way is to select the name of the point on the map.
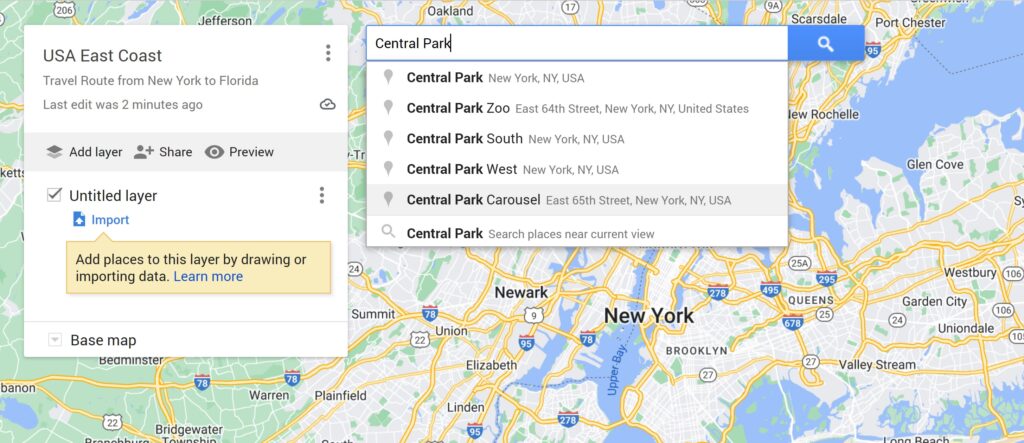
7. The third way is to type the name or address of the place into the search box. Select the most appropriate point.
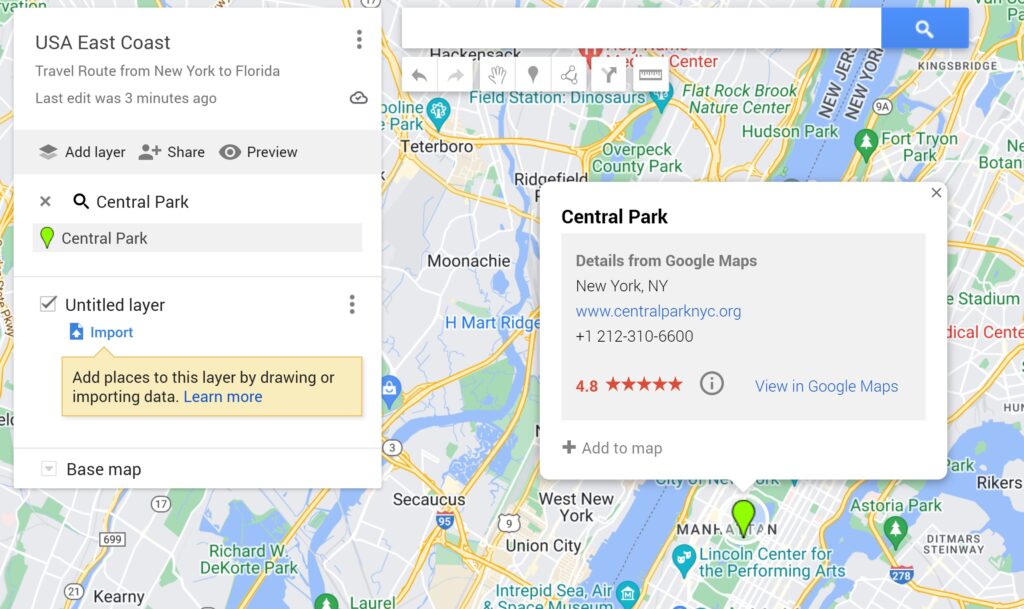
8. Click <Add to map> on the bottom left. The location pin will be placed.
9. Click the <paint bucket>.
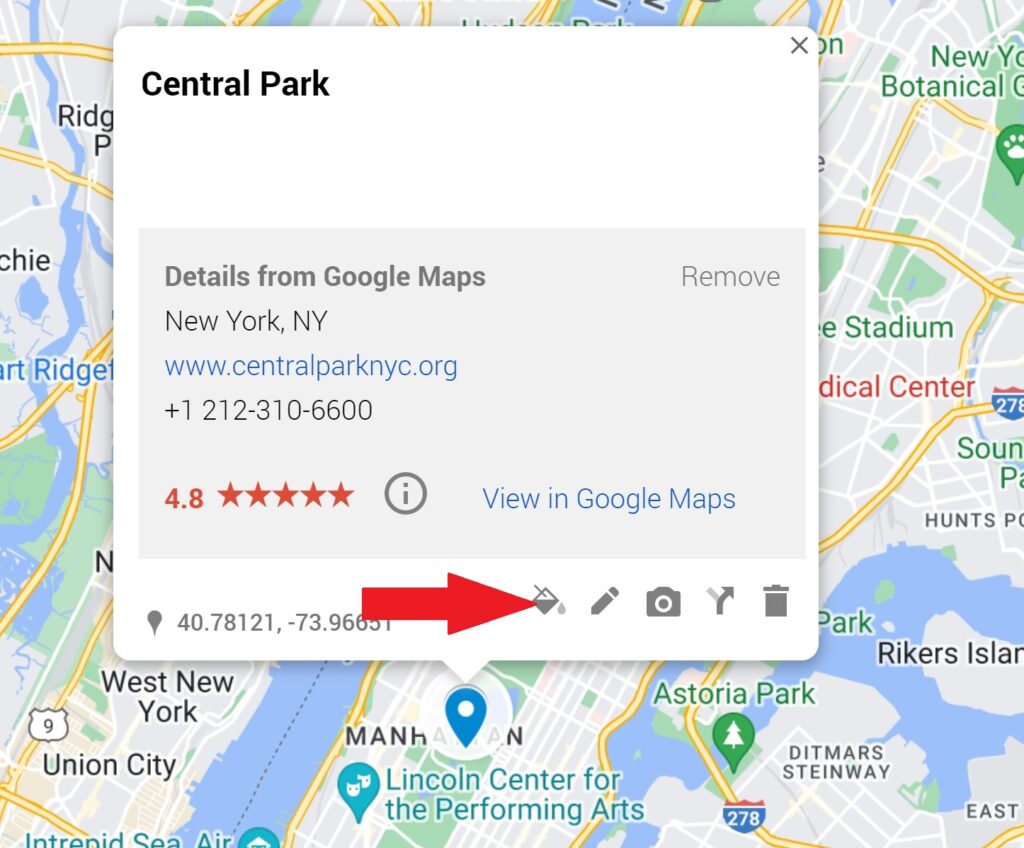
10. This will allow you to change or choose the color of the location pin. Then click on <More icons>.
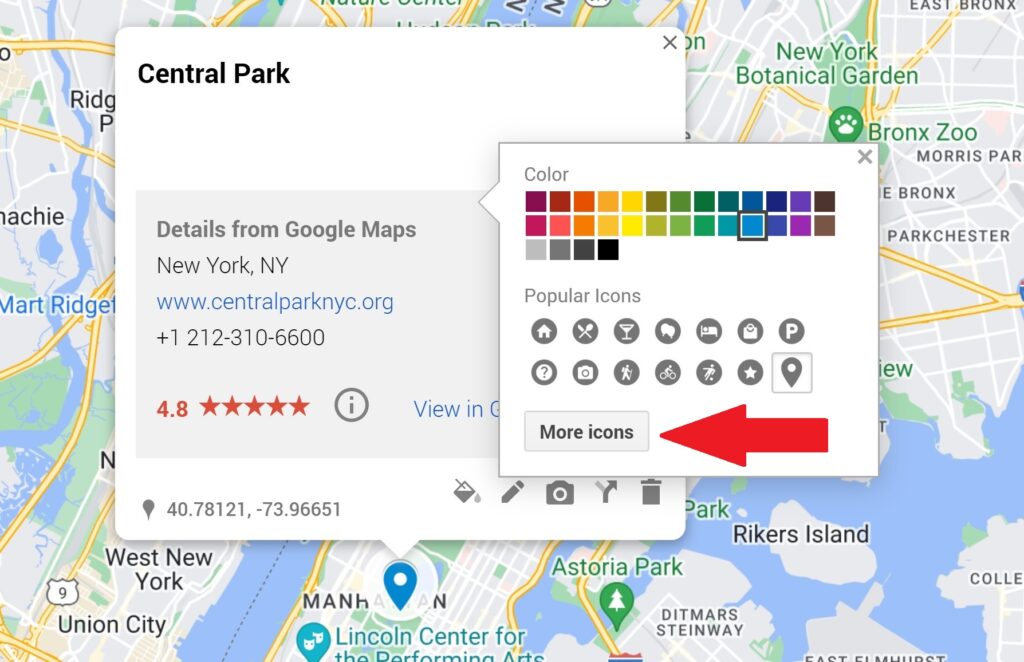
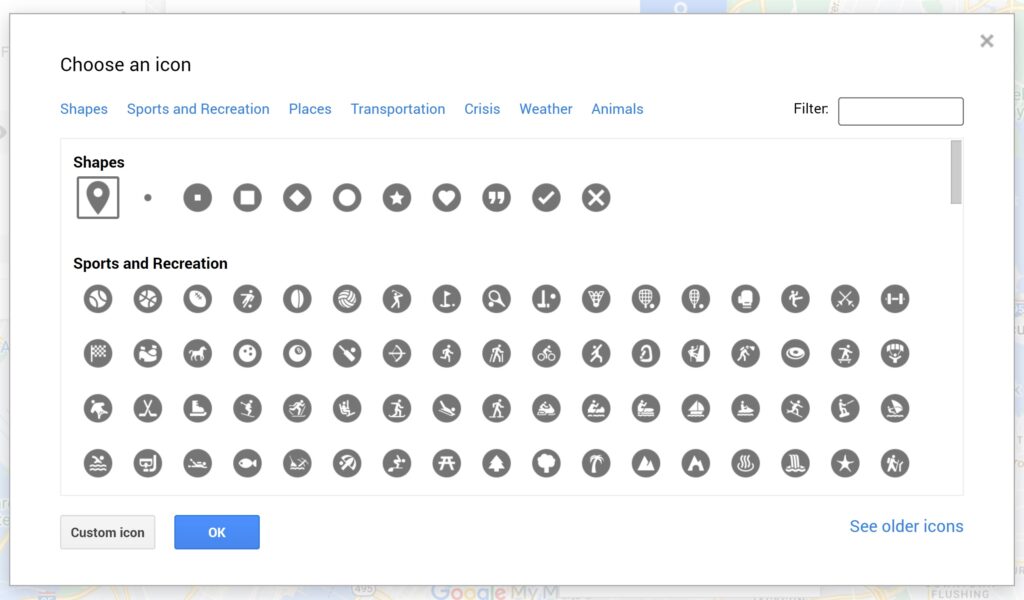
11. This will allow you to change the shape to an icon of your choice.
12. Next click on the <camera> symbol.
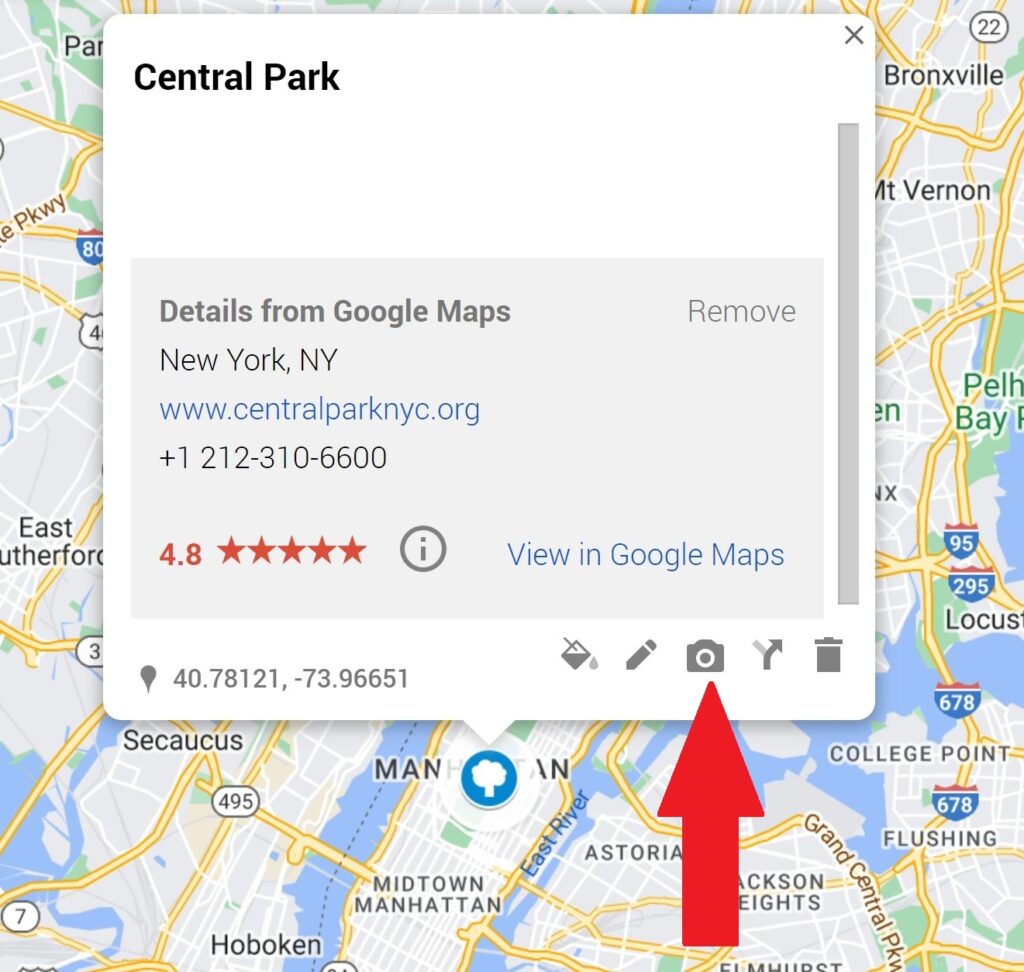
13. You can then choose from the many options to insert a picture of the place for easy future reference.
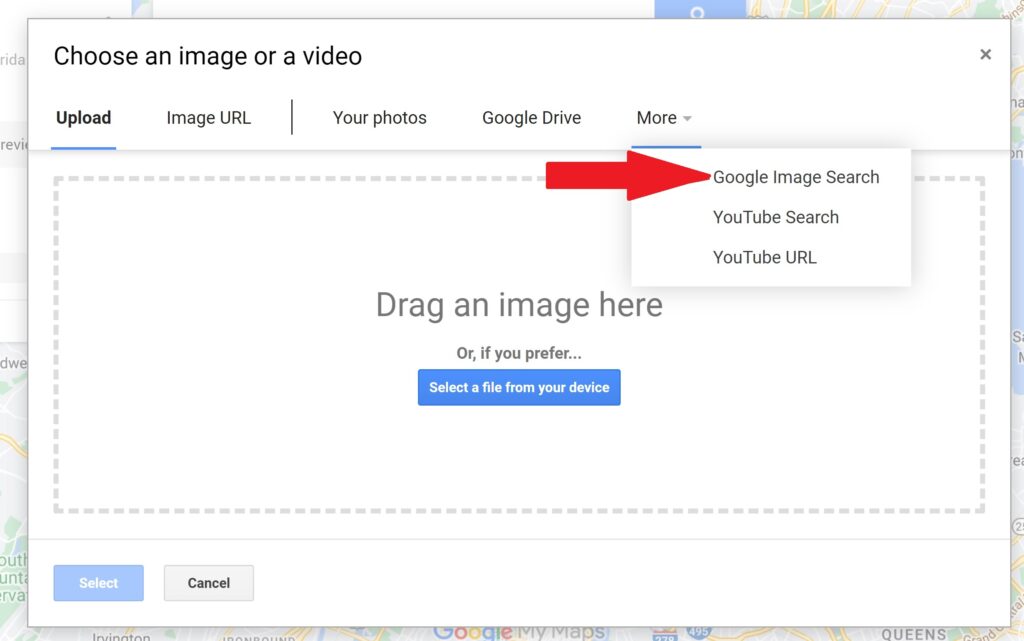
14. It gives you a list of choices you can choose from. I prefer to use Google Image Search.
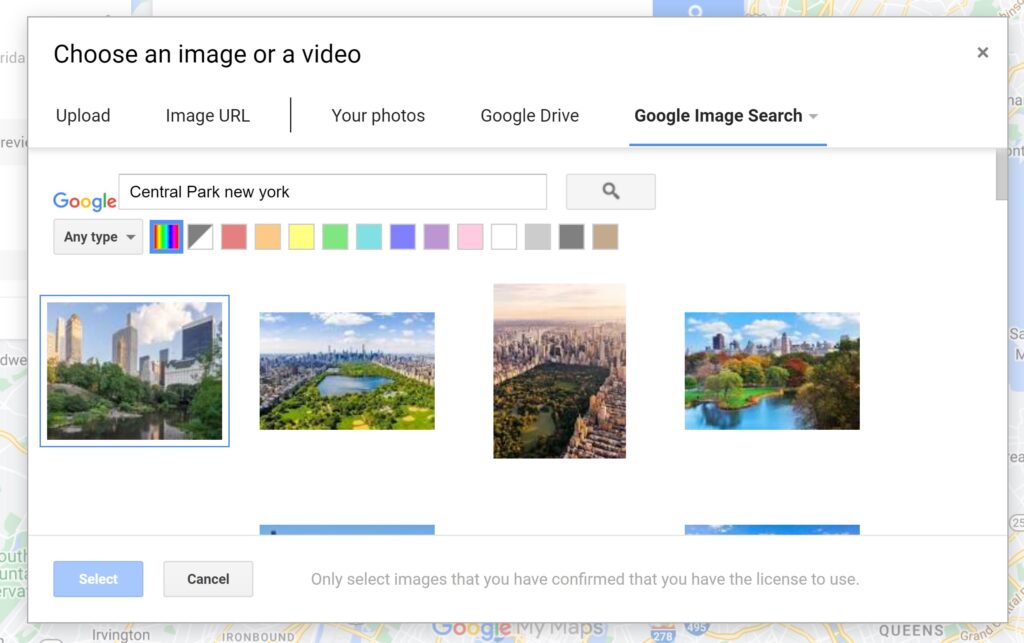
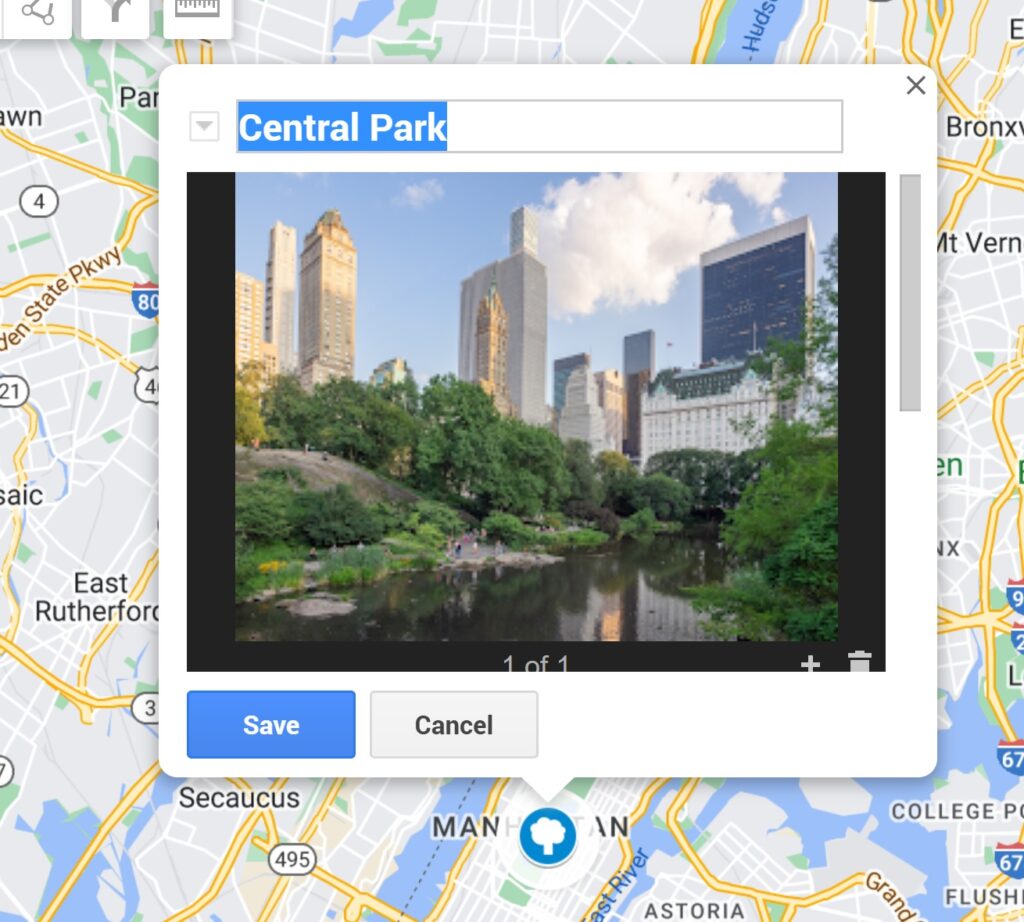
15. Click <Save> when the picture you have selected is downloaded.
16. To help you uncluter the Map, you can use the layer function to divide them into different categarious. Example, you can have a layer for places of interest, a layer for food, a layer for Hotels and so on.
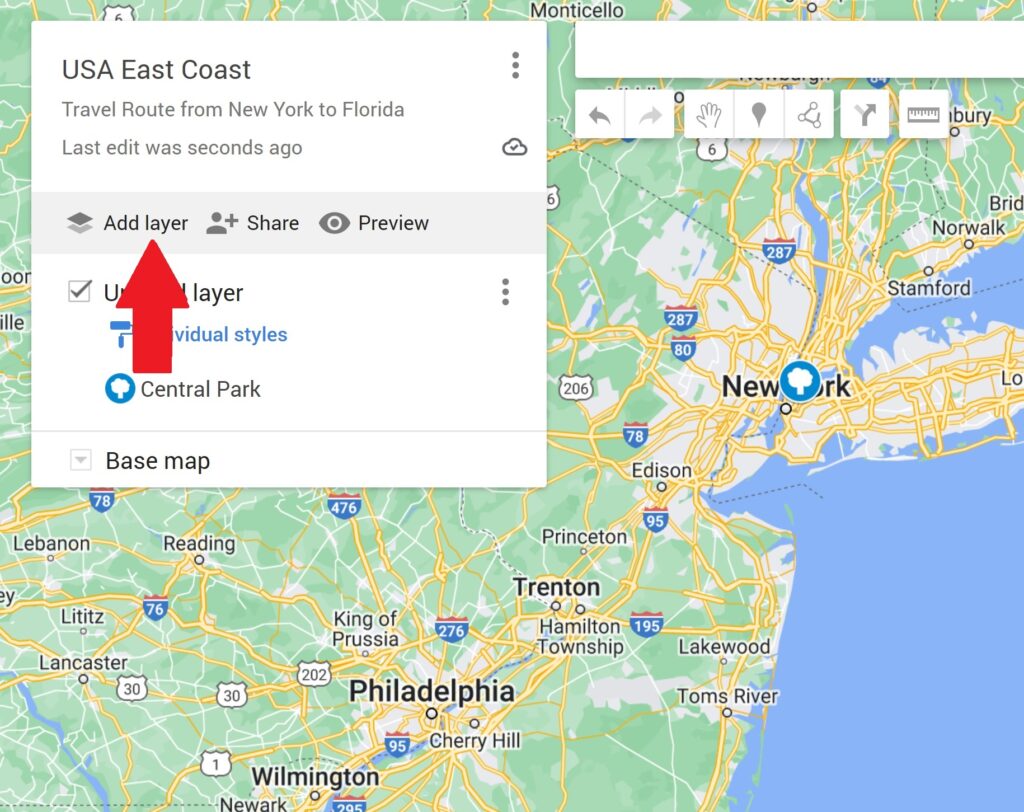
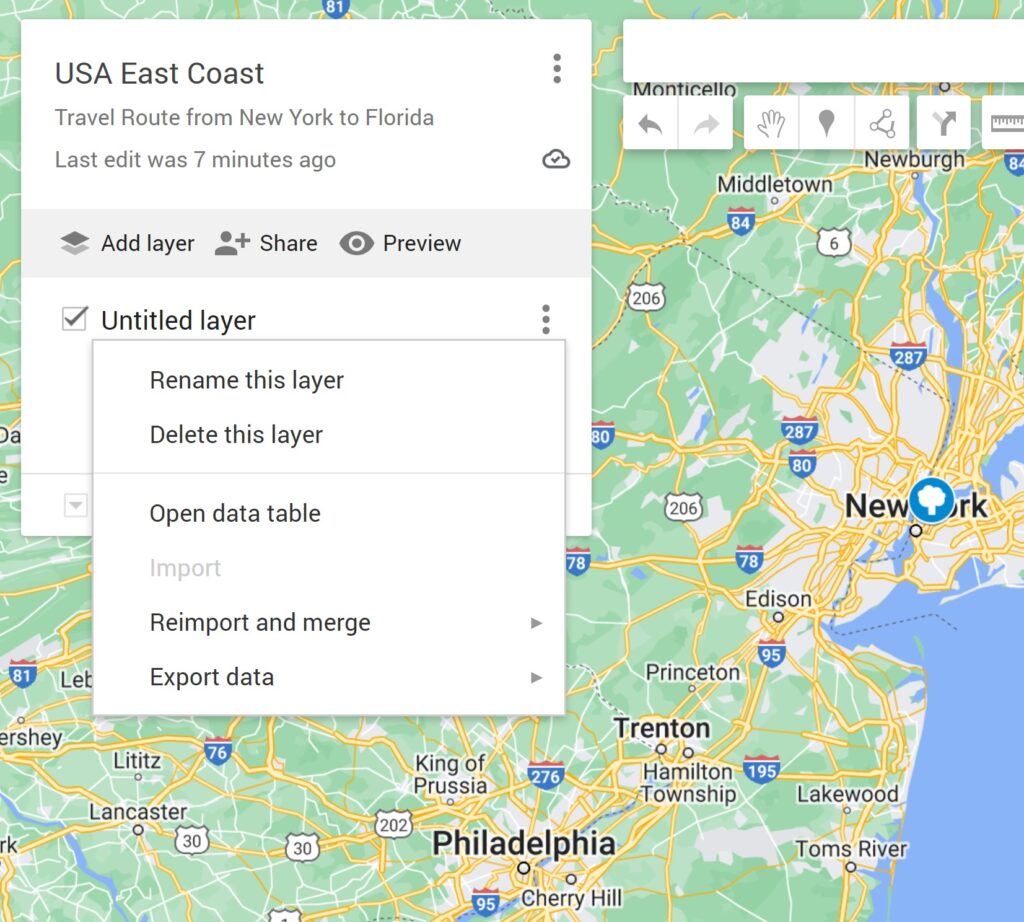
17. To rename your layer, first click the 3 dots on the top right.
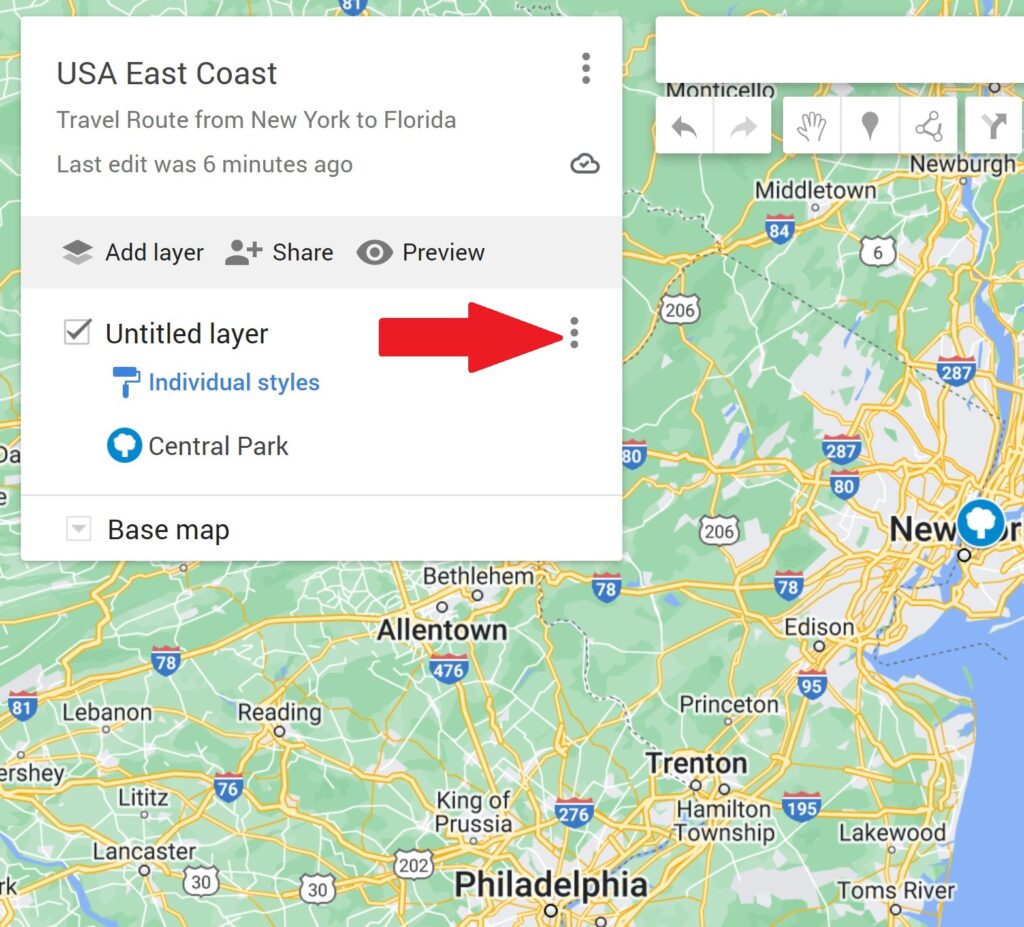
18. Click <Rename this layer>.
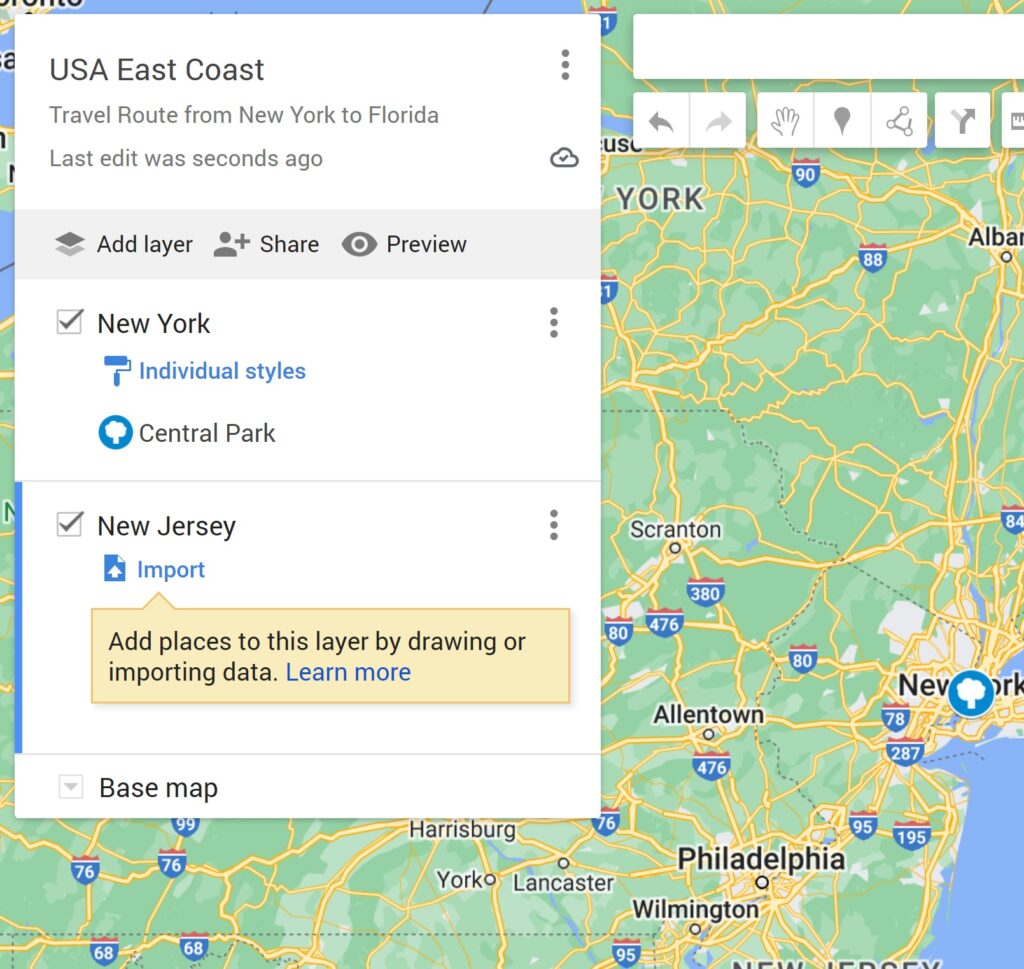
19. This is how it looks like for easy identification in the future.
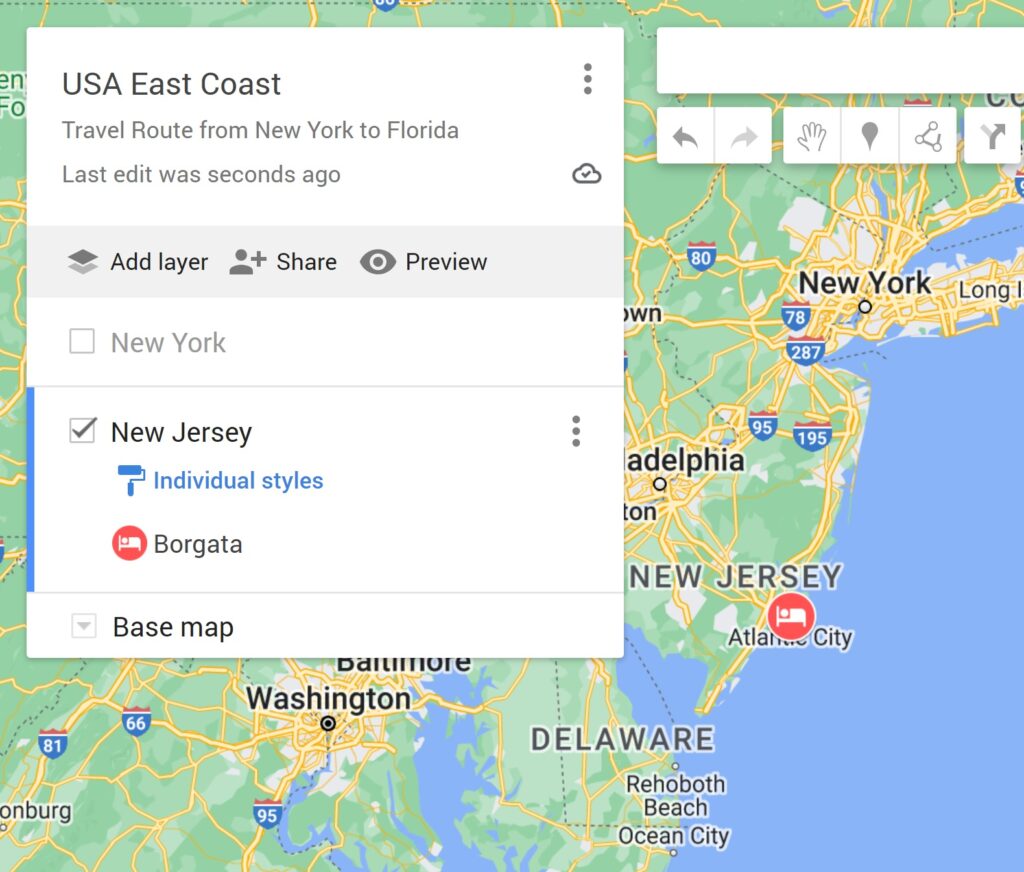
20. Check or uncheck the small box beside it to toggle the display.
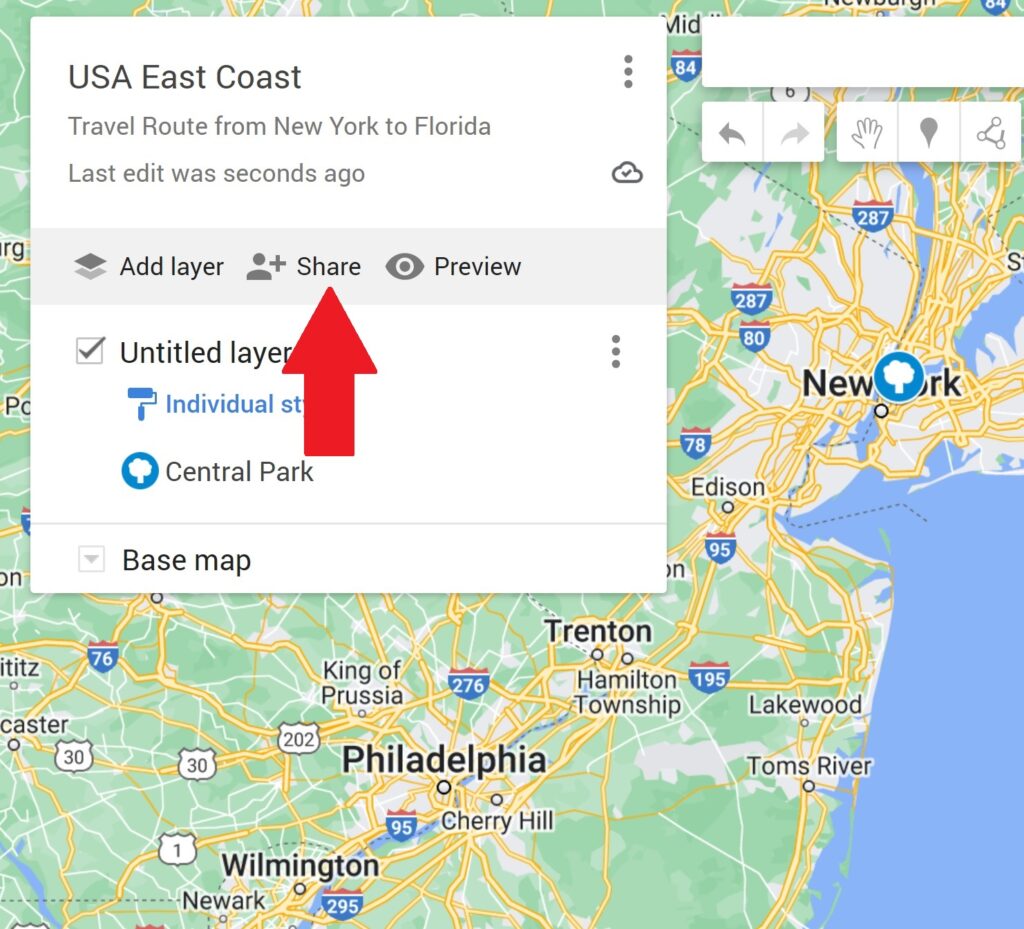
21. To share it amoung your peers, click the <share> button.
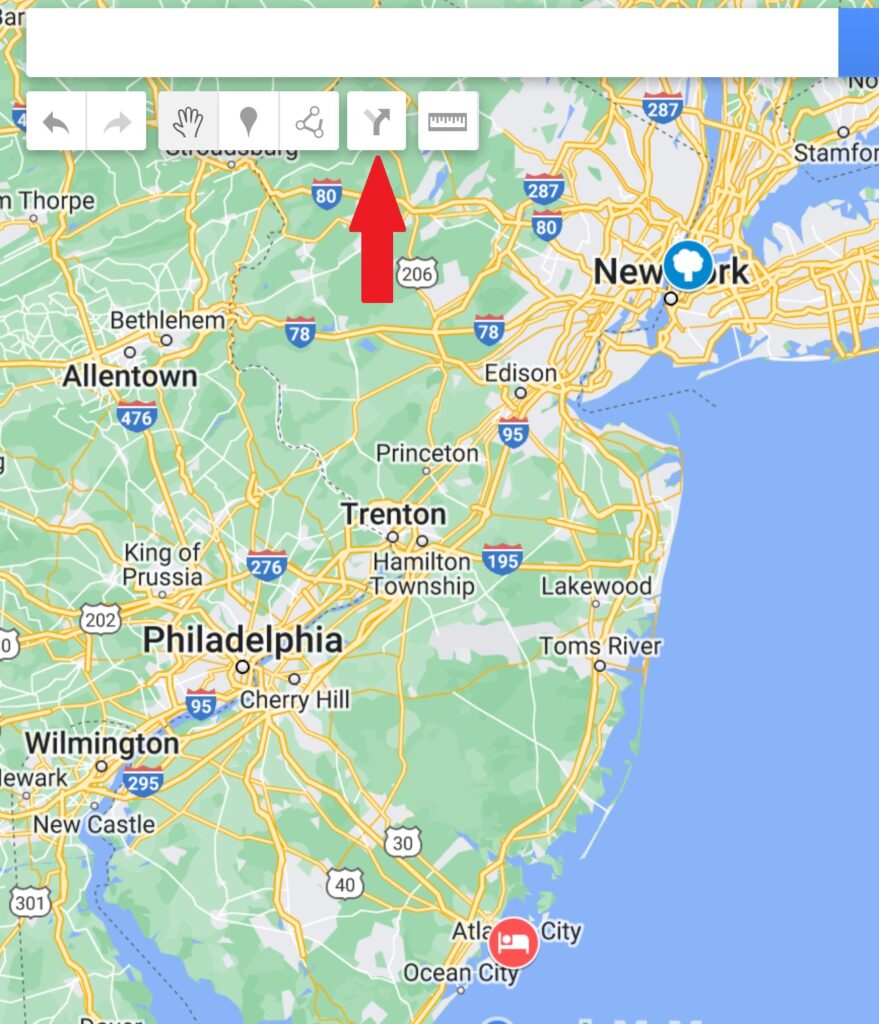
22. If you need a direction between 2 or more points, you can click the <direction> button.
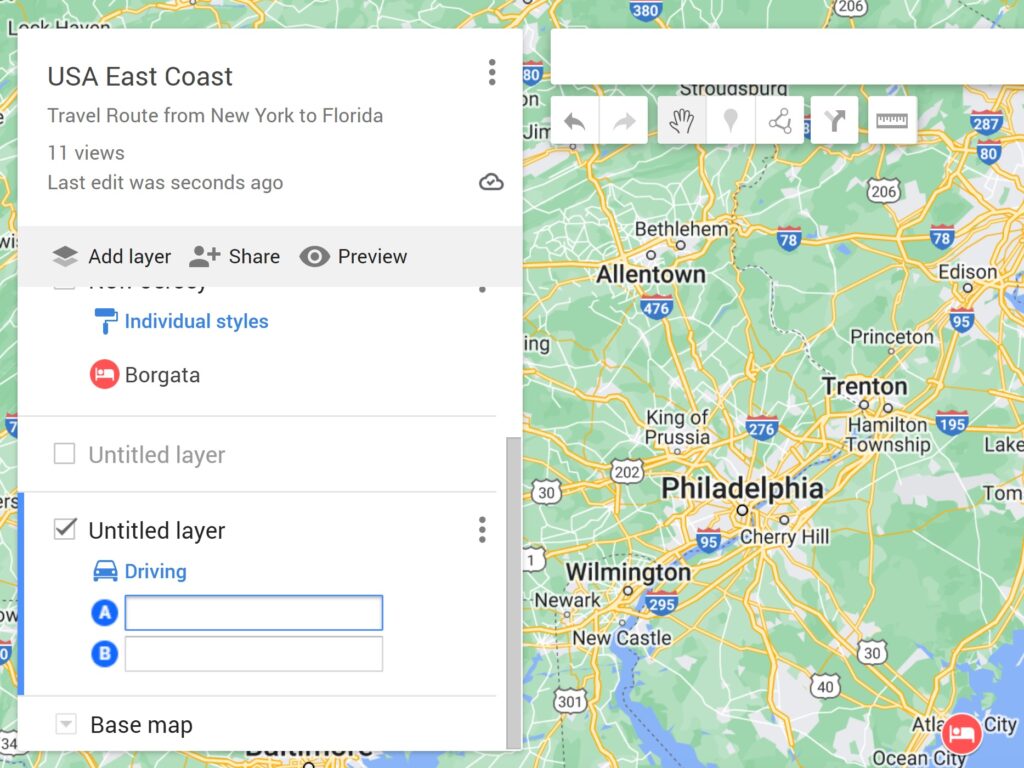
23. A new layer will appear.
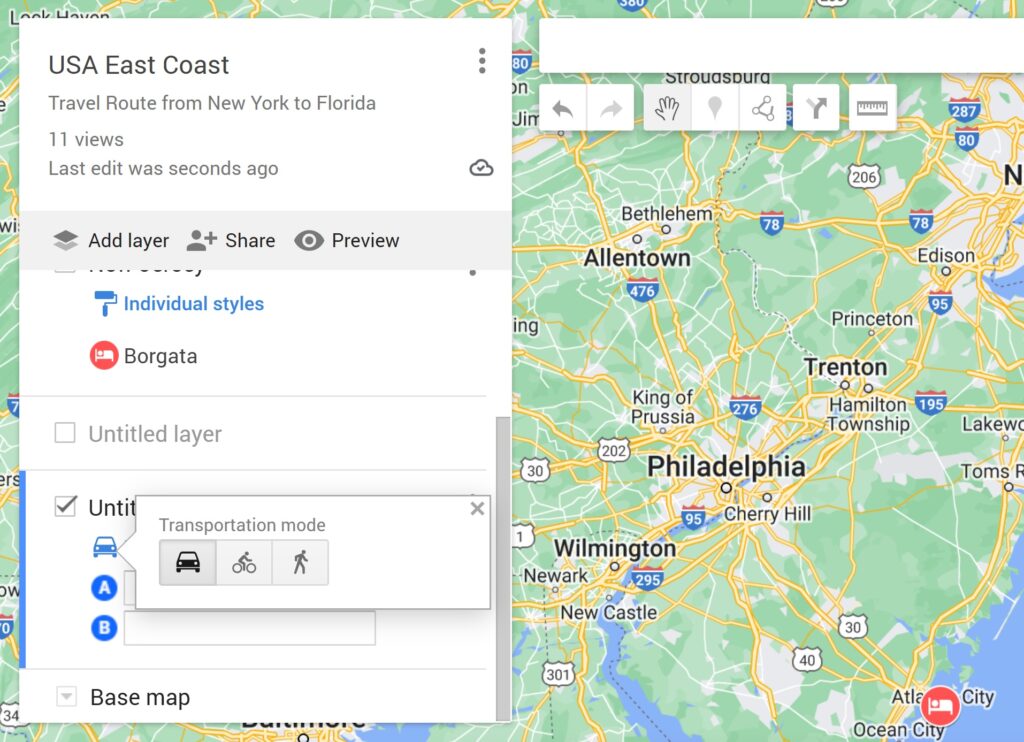
24. Click on the car icon to change the type of traveling methods if needed.
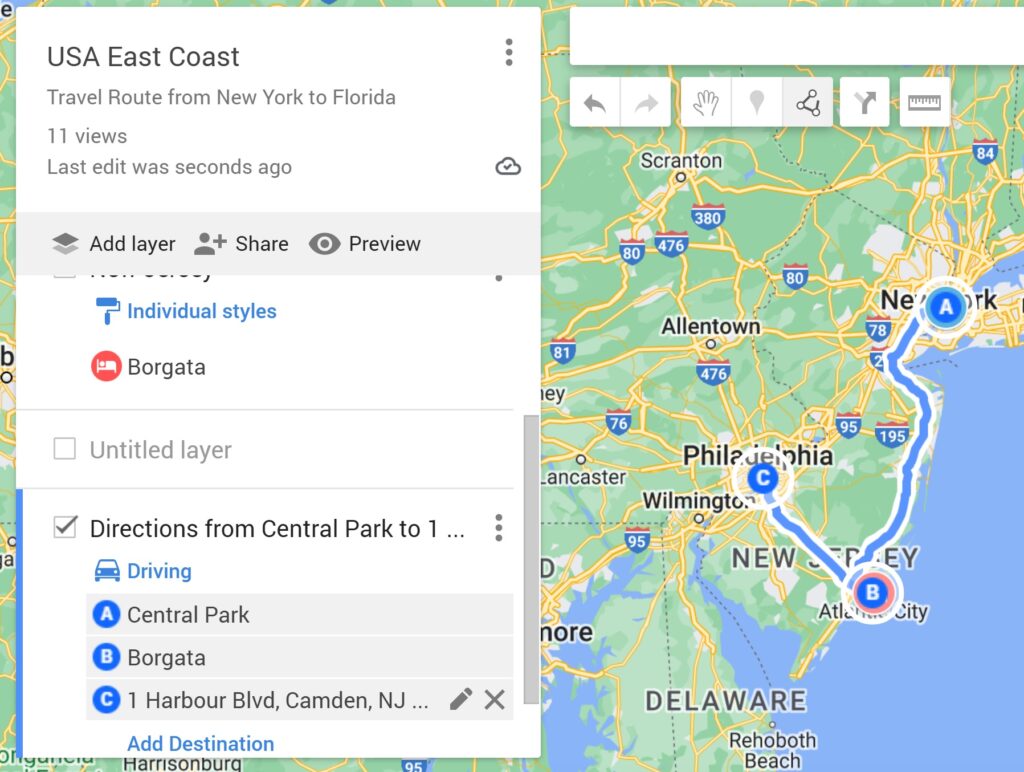
25. Input the 2 or more locations into the boxes provide. A suggested route will then appear. For multiple destinations, click <Add Destination>.
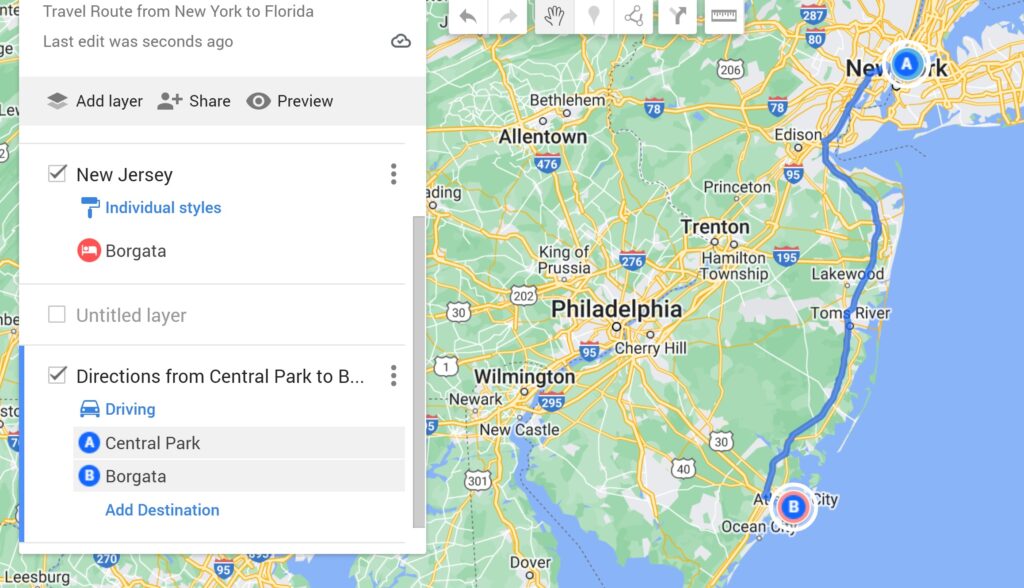
26. Hoover you mouse’s pointer over the name and you can rename it or delete the point.
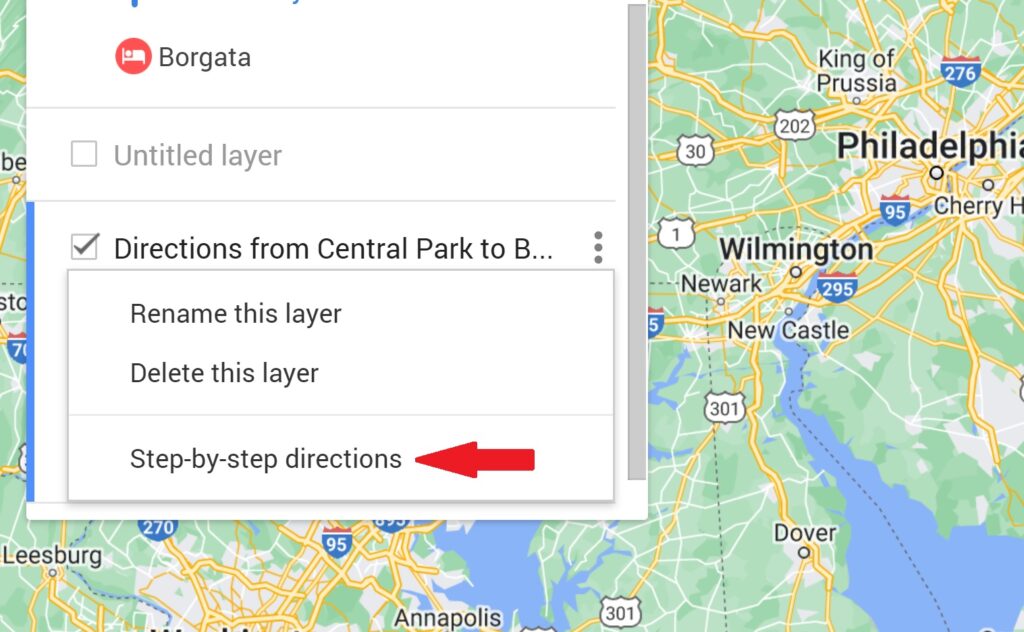
27. Click the 3 dots on the top right and it will allow you to display the step-by-step directions.
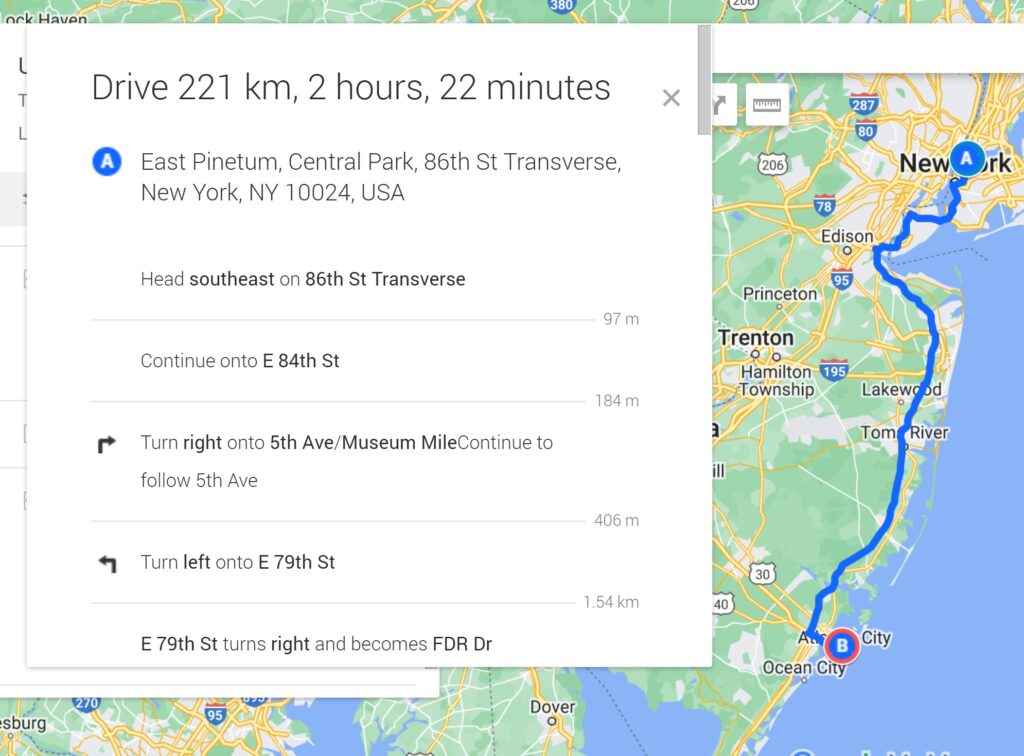
28. This is how it looks like.
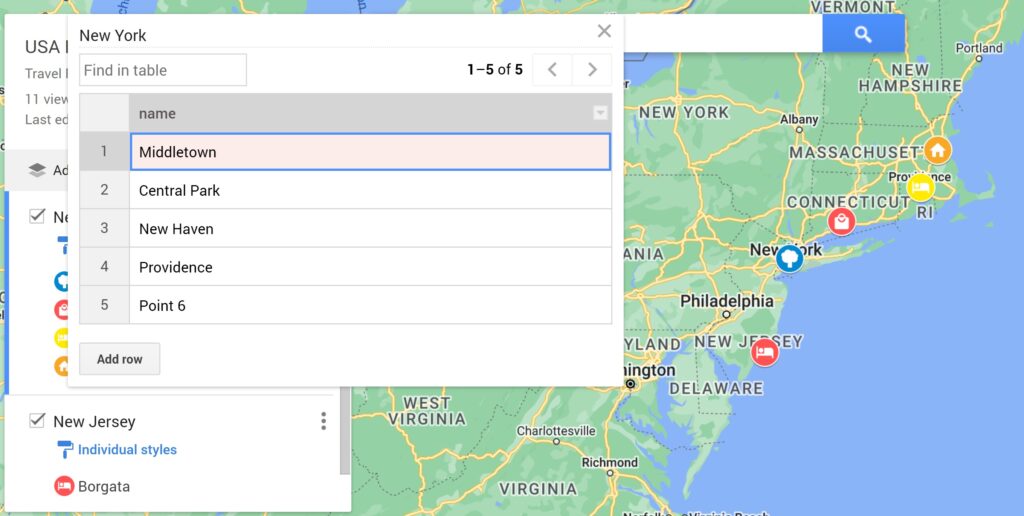
29. Clicking the 3 vertical dots on the top right within the layer. Then click<Open data table>. This will help you list your places in sequence you have placed it.
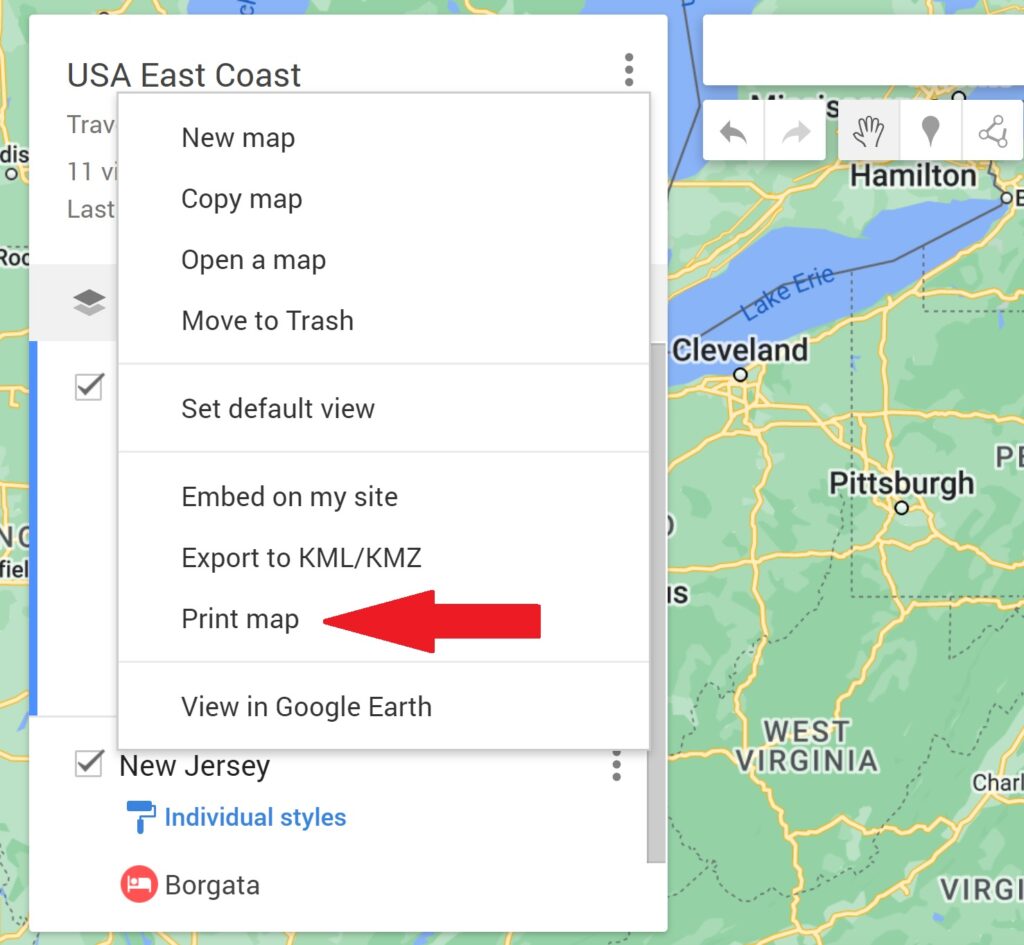
29. You can also print out or export the map by clicking the 3 vertical dots on the top right. Then click <Print Map>. There are a few more other functions you can try playing around with it.
30. Like all apps, its not perfect and address all your needs. However, it is good enough to bring you around. Do notes it’s limitations as you use it and work round it if you have to. Meanwhile, have fun planning. Cheers……